Deploy CloudFormation Stack
What Gets Deployed
The CloudFormation stack creates:
- ECS Fargate cluster with container services
- API Gateway for Teams and/or Google Chat webhooks
- Network infrastructure (VPC, subnets, security groups)
- IAM roles with appropriate permissions
- Secrets Manager for credentials
- CloudWatch logs for monitoring
Deployment Steps
1. Open CloudFormation Console
Navigate to CloudFormation in your target region:
https://console.aws.amazon.com/cloudformation/home
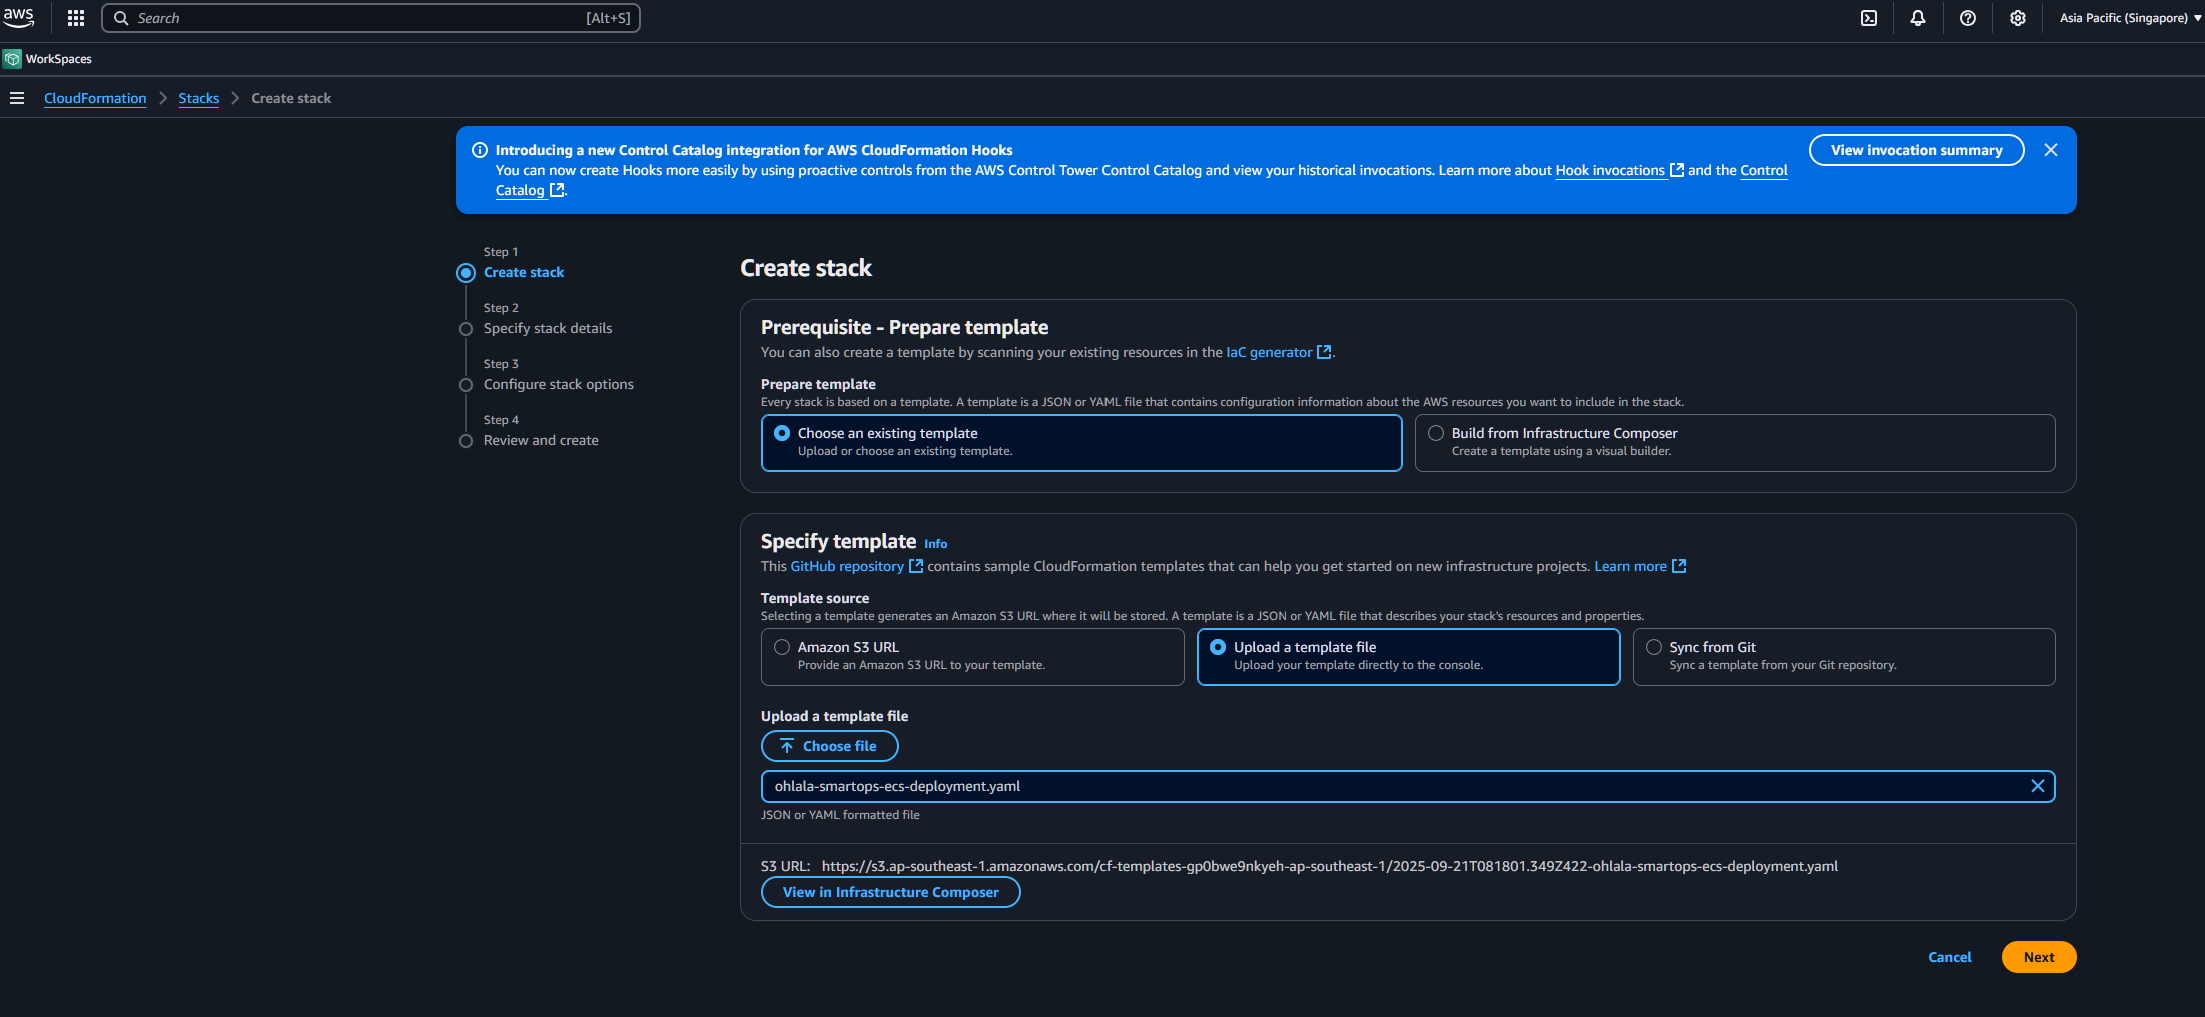
2. Create New Stack
Click “Create stack” and choose “With new resources (standard)”
3. Upload Template
- Select “Choose an existing template”
- Select “Upload a template file”
- Click “Choose file” and select the template downloaded from AWS Marketplace
- Click “Next”
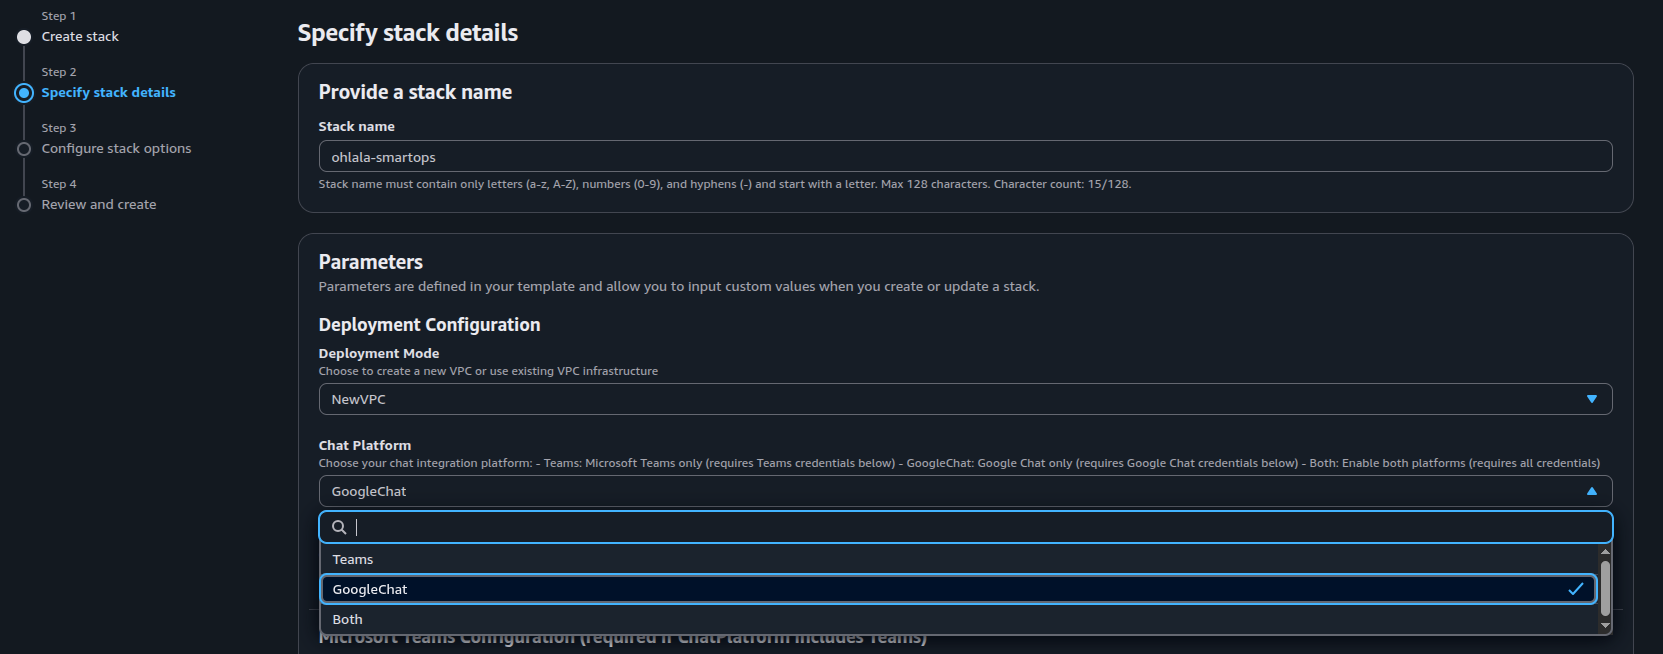
4. Configure Stack Parameters
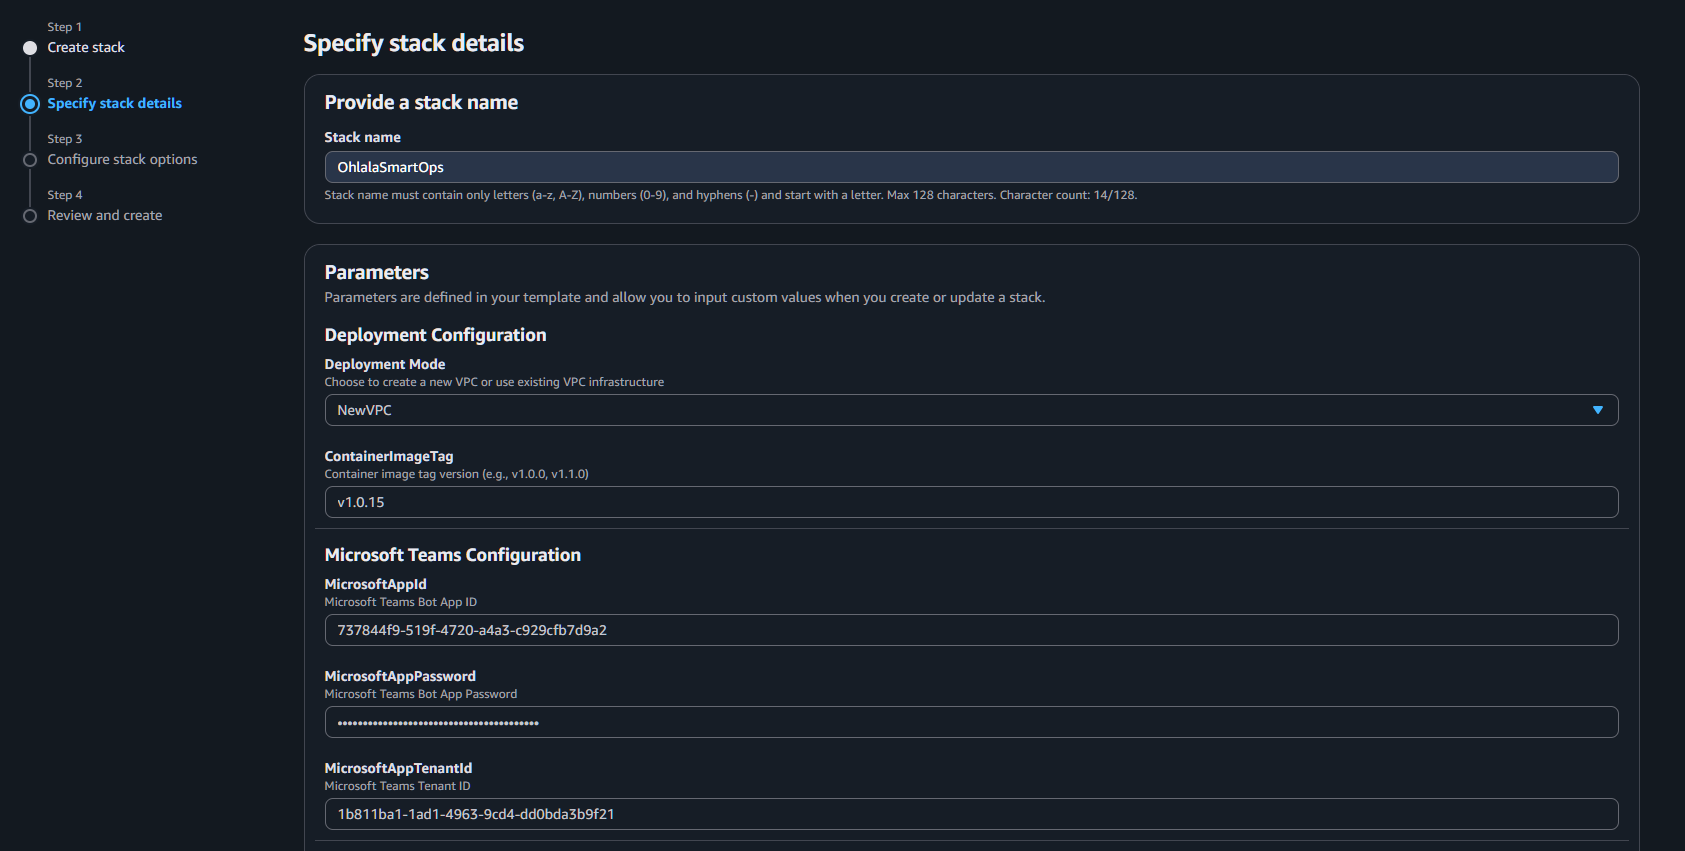
Stack Name
Enter a unique stack name: OhlalaSmartOps (or your preference)
Required Parameters
Fill in the mandatory parameters:
| Parameter | Description | Example/Value |
|---|---|---|
| DeploymentMode | VPC configuration | NewVPC (recommended) |
| ContainerImageTag | Version to deploy | v2.0.2 (default) |
| ChatPlatform | Chat integration to enable | Teams, GoogleChat, or Both |
Teams Parameters (required when ChatPlatform is Teams or Both)
| Parameter | Description | Example/Value |
|---|---|---|
| MicrosoftAppId | From Azure Bot setup | Your App ID |
| MicrosoftAppPassword | From Azure Bot setup | Your App Password |
| MicrosoftAppTenantId | From Azure Bot setup | Your Tenant ID |
GoogleChat as your ChatPlatform.
Google Chat Parameters (required when ChatPlatform is GoogleChat or Both)
| Parameter | Description | Example/Value |
|---|---|---|
| GoogleChatProjectId | Your GCP project ID | my-project-123456 |
| GoogleChatServiceAccountInfo | Service account JSON key (single line) | {"type":"service_account",...} |
Teams as your ChatPlatform. If you haven’t created your Google Cloud credentials yet, complete Google Cloud Setup first.
VPC Configuration (if NewVPC)
Keep defaults or customize:
- VPCCIDR:
10.0.0.0/16 - PublicSubnet1CIDR:
10.0.1.0/24 - PublicSubnet2CIDR:
10.0.2.0/24 - PrivateSubnet1CIDR:
10.0.10.0/24 - PrivateSubnet2CIDR:
10.0.11.0/24 - EnableNATGateway:
true
Security & Reports Configuration
| Parameter | Description | Default |
|---|---|---|
| AllowedIngressCIDR | CIDR range allowed to access API Gateway | 0.0.0.0/0 |
| EnableDailyReports | Enable daily health reports to chat platforms | true |
| DailyReportSchedule | Cron expression for report schedule | cron(0 8 * * ? *) |
Schedule Examples:
cron(0 8 * * ? *)- Every day at 8am UTCcron(0 9 ? * MON-FRI *)- Weekdays at 9am UTCcron(0 14 * * ? *)- Every day at 2pm UTC
0.0.0.0/0 is recommended because Microsoft Teams Bot Framework uses dynamic Azure IPs globally. Security is enforced by JWT token validation in the Lambda Authorizer, not IP filtering. Only change this if you have specific corporate network restrictions.
Click “Next”
5. Configure Stack Options
On the stack options page:
- Tags: (Optional) Add tags for resource organization
- Permissions: Leave default
- Advanced options: Leave default
Click “Next”
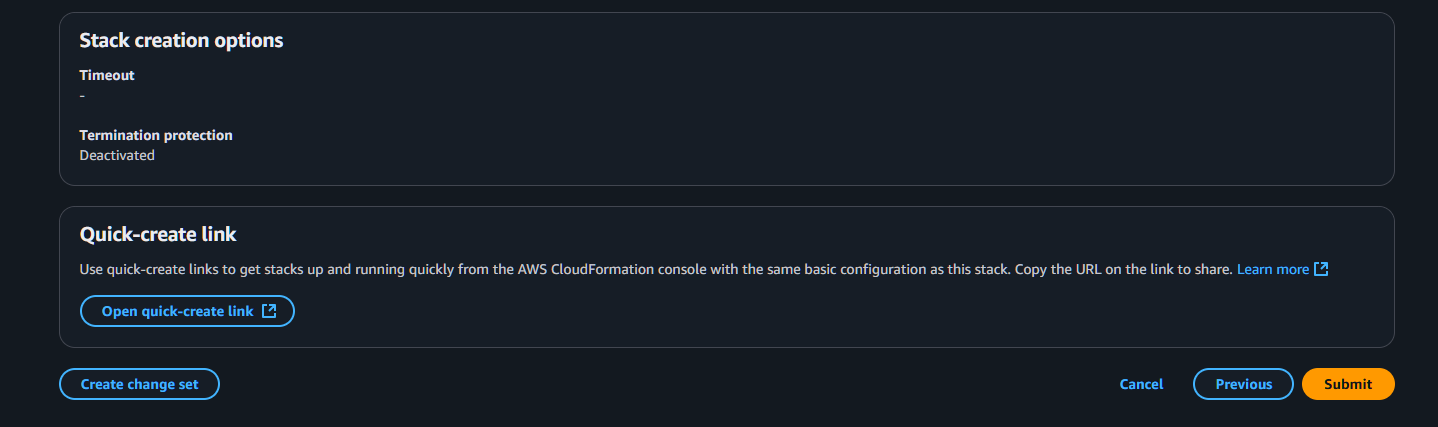
6. Review and Create
- Review all settings
- Check the acknowledgment box:
- I acknowledge that AWS CloudFormation might create IAM resources with custom names
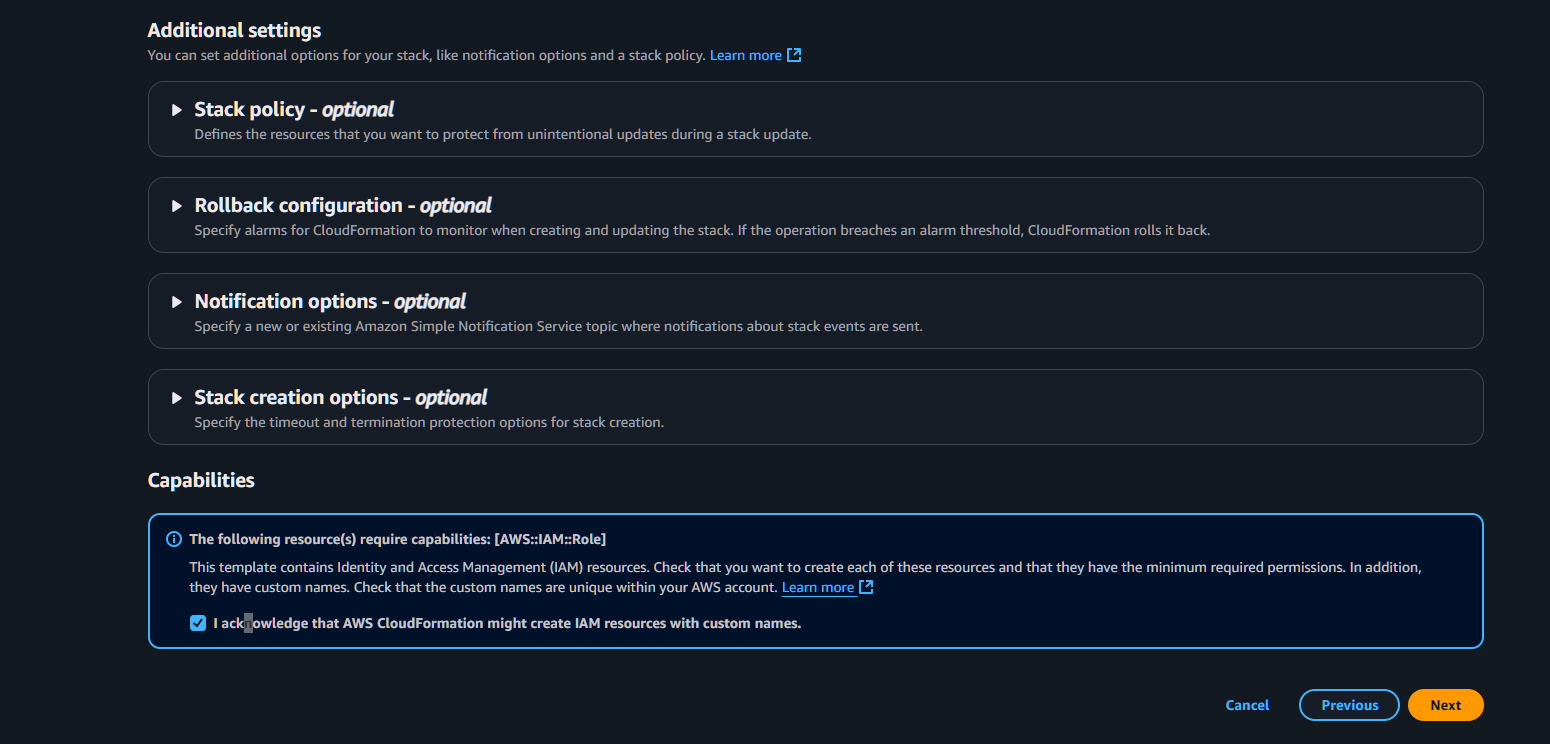
- Click “Submit”
7. Monitor Deployment
The stack creation takes 5-10 minutes. Monitor progress:
- Select your stack in the CloudFormation console
- Check the Events tab for real-time updates
- Wait for status: CREATE_COMPLETE
Success Indicators:
- Stack status shows
CREATE_COMPLETE - All resources in the Resources tab show
CREATE_COMPLETE - No errors in the Events tab
Get Stack Outputs
Once deployment completes, get the important URLs:
- Select your stack
- Go to the Outputs tab
- Save these values:
| Output | Description | Use |
|---|---|---|
| TeamsWebhookURL | API Gateway endpoint for Teams | Configure in Azure Bot |
| GoogleChatWebhookURL | API Gateway endpoint for Google Chat | Configure in Google Chat API |
| APIGatewayEndpoint | Base API URL | Reference only |
| ECSCluster | Cluster name | For monitoring |
| ECSService | Service name | For monitoring |
Verify Deployment
Check ECS Service
- Go to ECS Console → Clusters
- Find your cluster (e.g.,
OhlalaSmartOps-Cluster-...) - Check service shows 1 running task
Check API Gateway
- Go to API Gateway Console
- Find your API (e.g.,
OhlalaSmartOps-API-...) - Verify endpoints are created
Check Health Endpoint
Test the health endpoint (no authentication required):
curl https://your-api-id.execute-api.region.amazonaws.com/prod-stackname/health
Should return: {"status": "healthy"}
Troubleshooting
Stack Creation Failed
IAM Role Already Exists
Error: “Resource of type ‘AWS::IAM::Role’ with identifier already exists” Solution: Use a different stack name, or delete the existing role first
Insufficient Permissions
Error: “User is not authorized to perform: iam:CreateRole” Solution: Ensure you have admin permissions or required IAM policies
Service Quota Exceeded
Error: “Service quota exceeded” Solution: Request quota increase or deploy in different region
Stack Stuck in CREATE_IN_PROGRESS
- Check Events tab for specific resource causing delay
- ECS service can take 3-5 minutes to stabilize
- If stuck >15 minutes, consider deleting and retrying
Next Step
With infrastructure deployed and webhook URL ready, continue based on your ChatPlatform selection:
- Teams or Both: Continue to Teams Integration
- GoogleChat or Both: Continue to Google Chat Integration