Deploy CloudFormation Stack
Deploy the complete Ohlala SmartOps infrastructure using the CloudFormation template from AWS Marketplace.
📦 What Gets Deployed
The CloudFormation stack creates:
- ECS Fargate cluster with container services
- API Gateway for Teams webhook
- Network infrastructure (VPC, subnets, security groups)
- IAM roles with appropriate permissions
- Secrets Manager for credentials
- CloudWatch logs for monitoring
📋 Deployment Steps
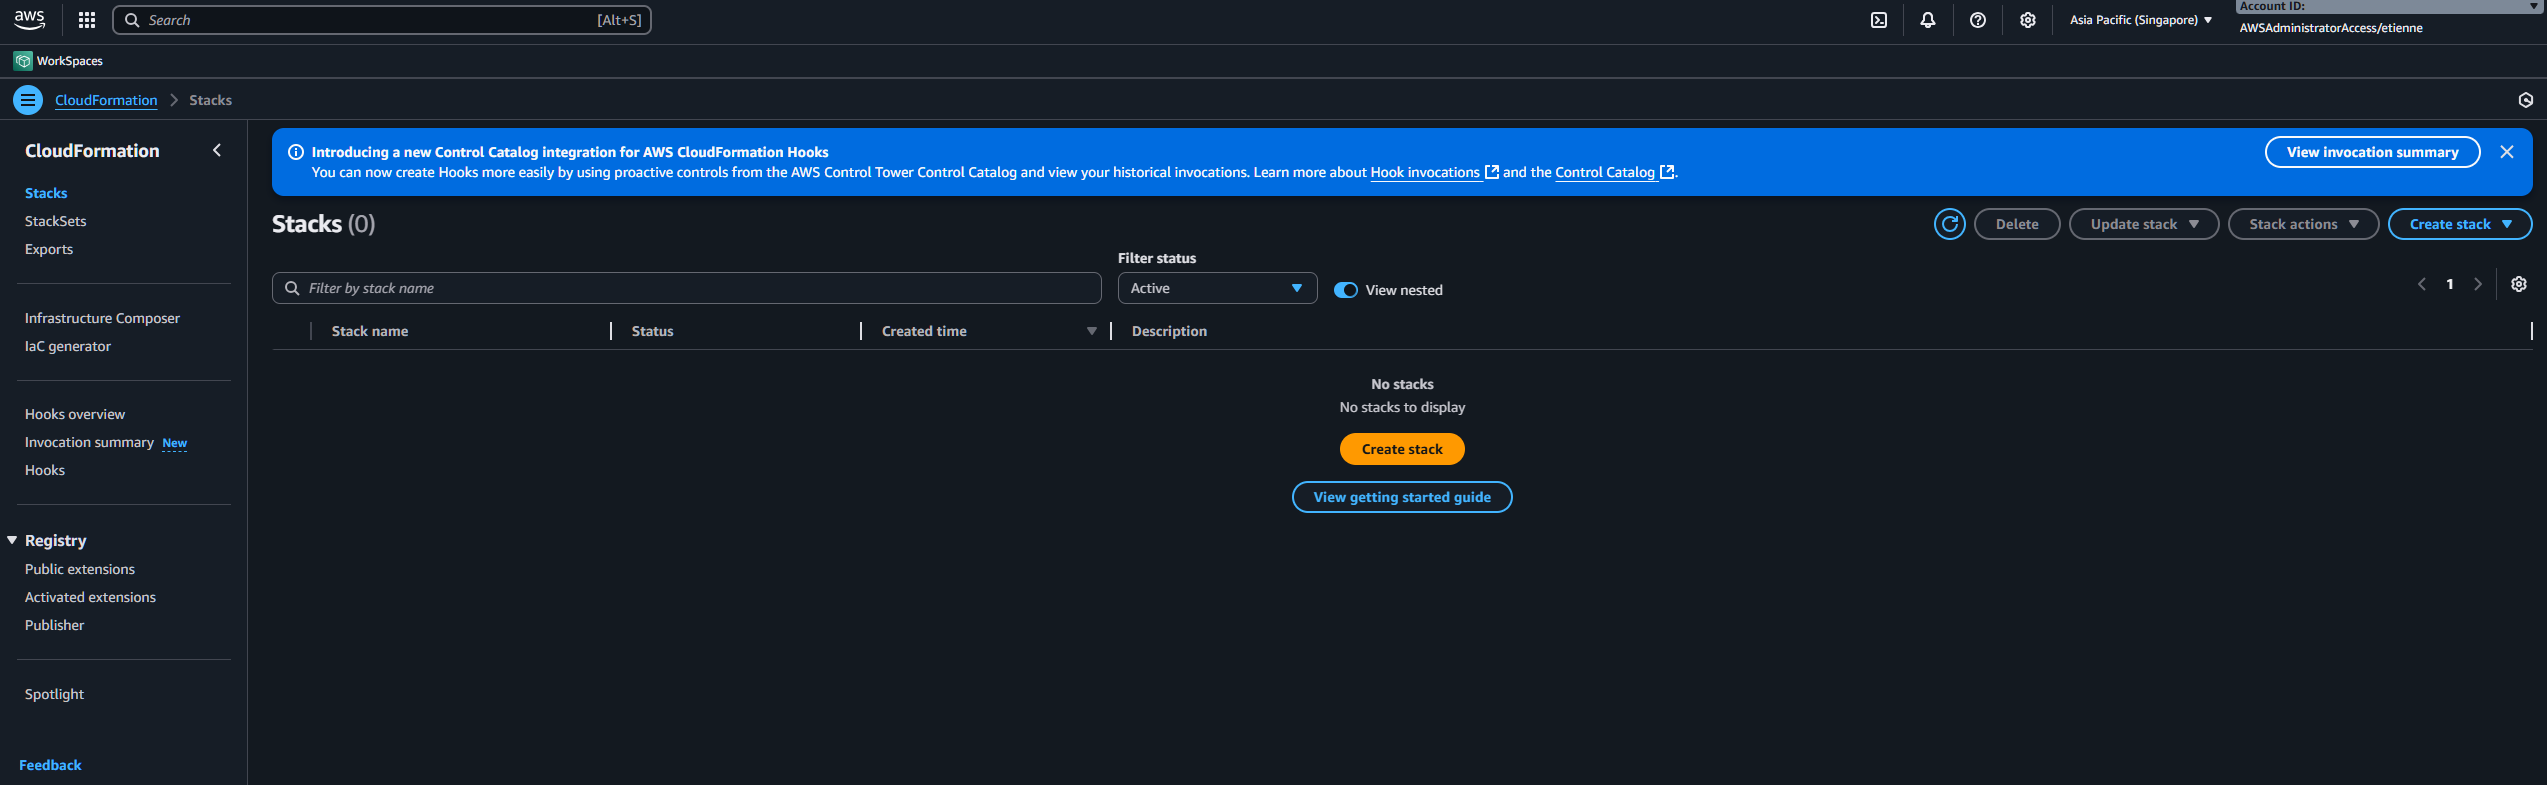
1. Open CloudFormation Console
Navigate to CloudFormation in your target region:
https://console.aws.amazon.com/cloudformation/home ↗️
2. Create New Stack
Click “Create stack” and choose “With new resources (standard)”
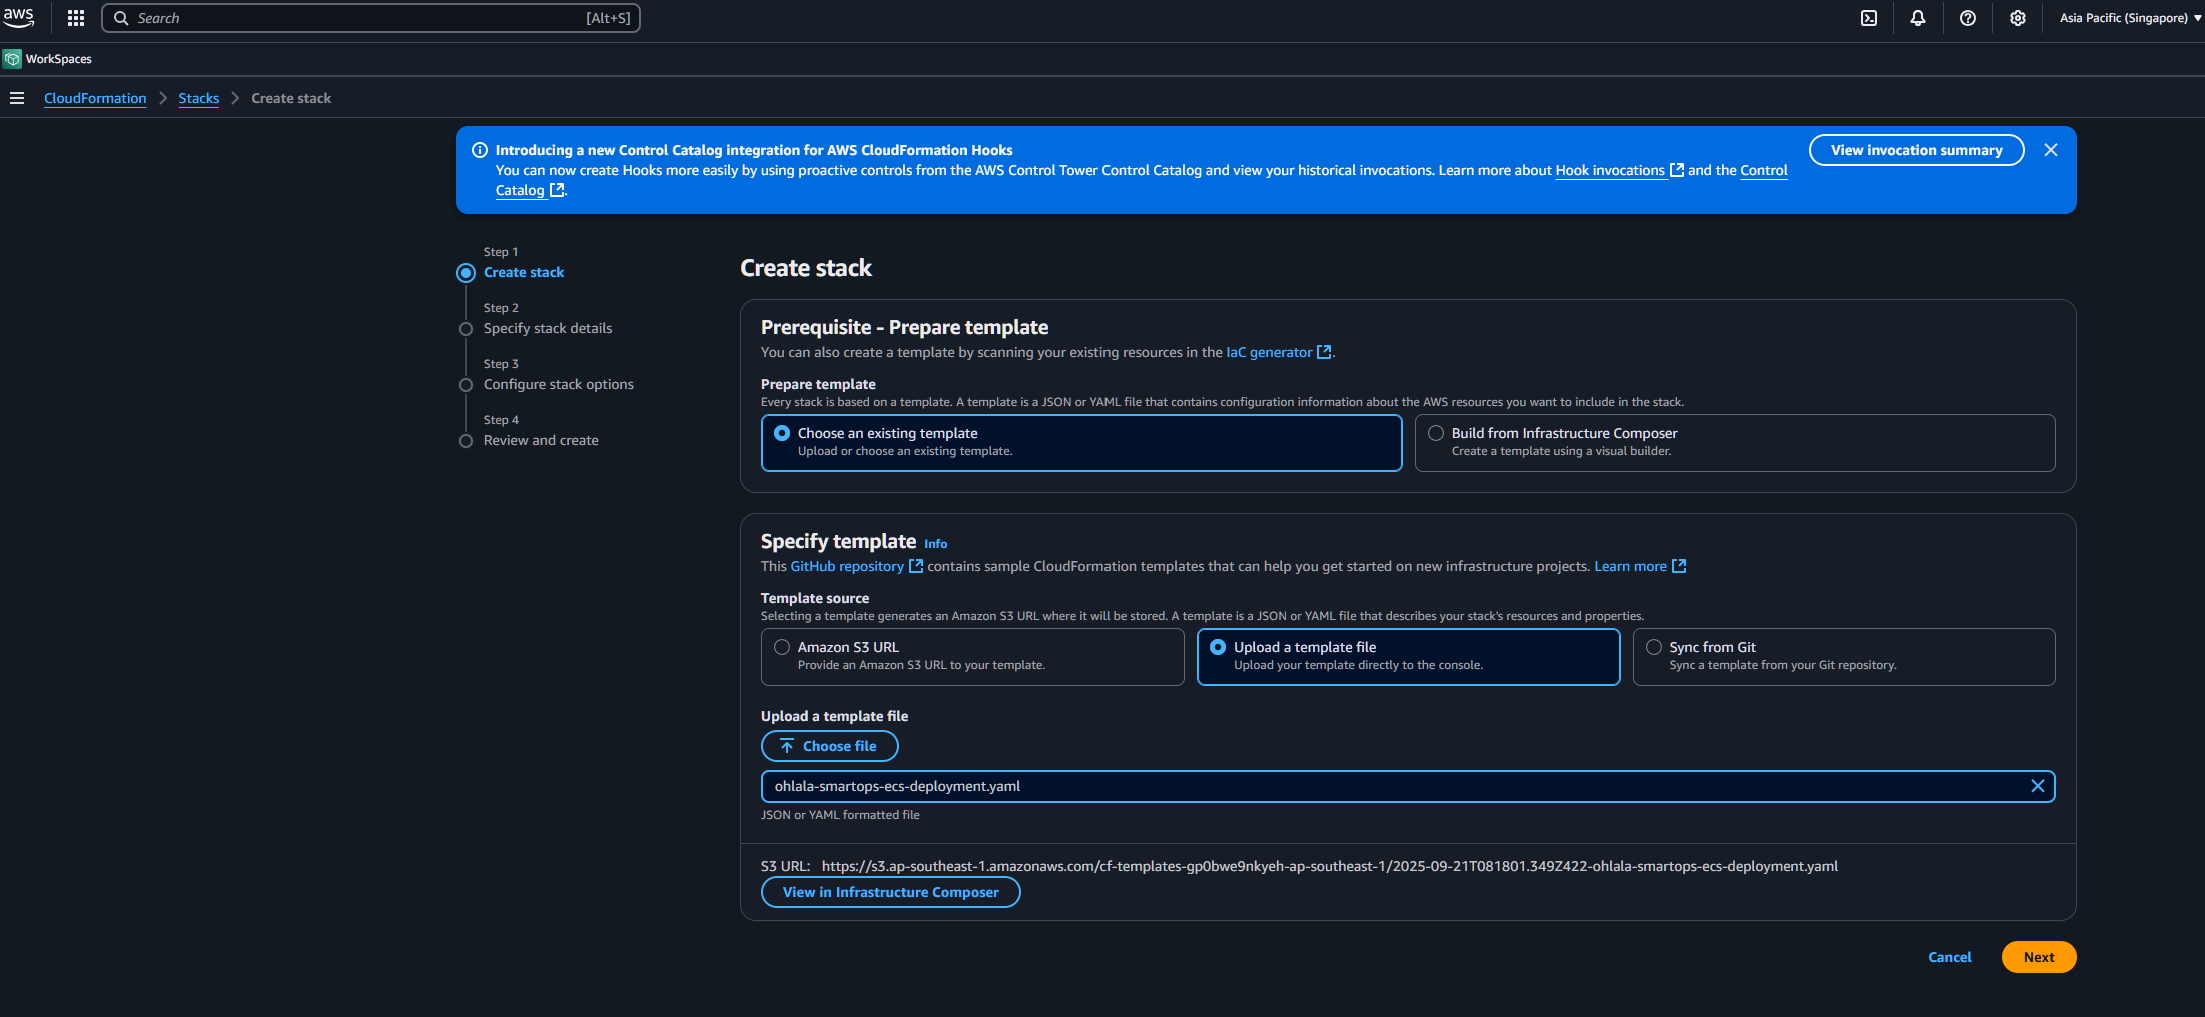
3. Upload Template
- Select “Choose an existing template”
- Select “Upload a template file”
- Click “Choose file” and select the template downloaded from AWS Marketplace
- Click “Next”
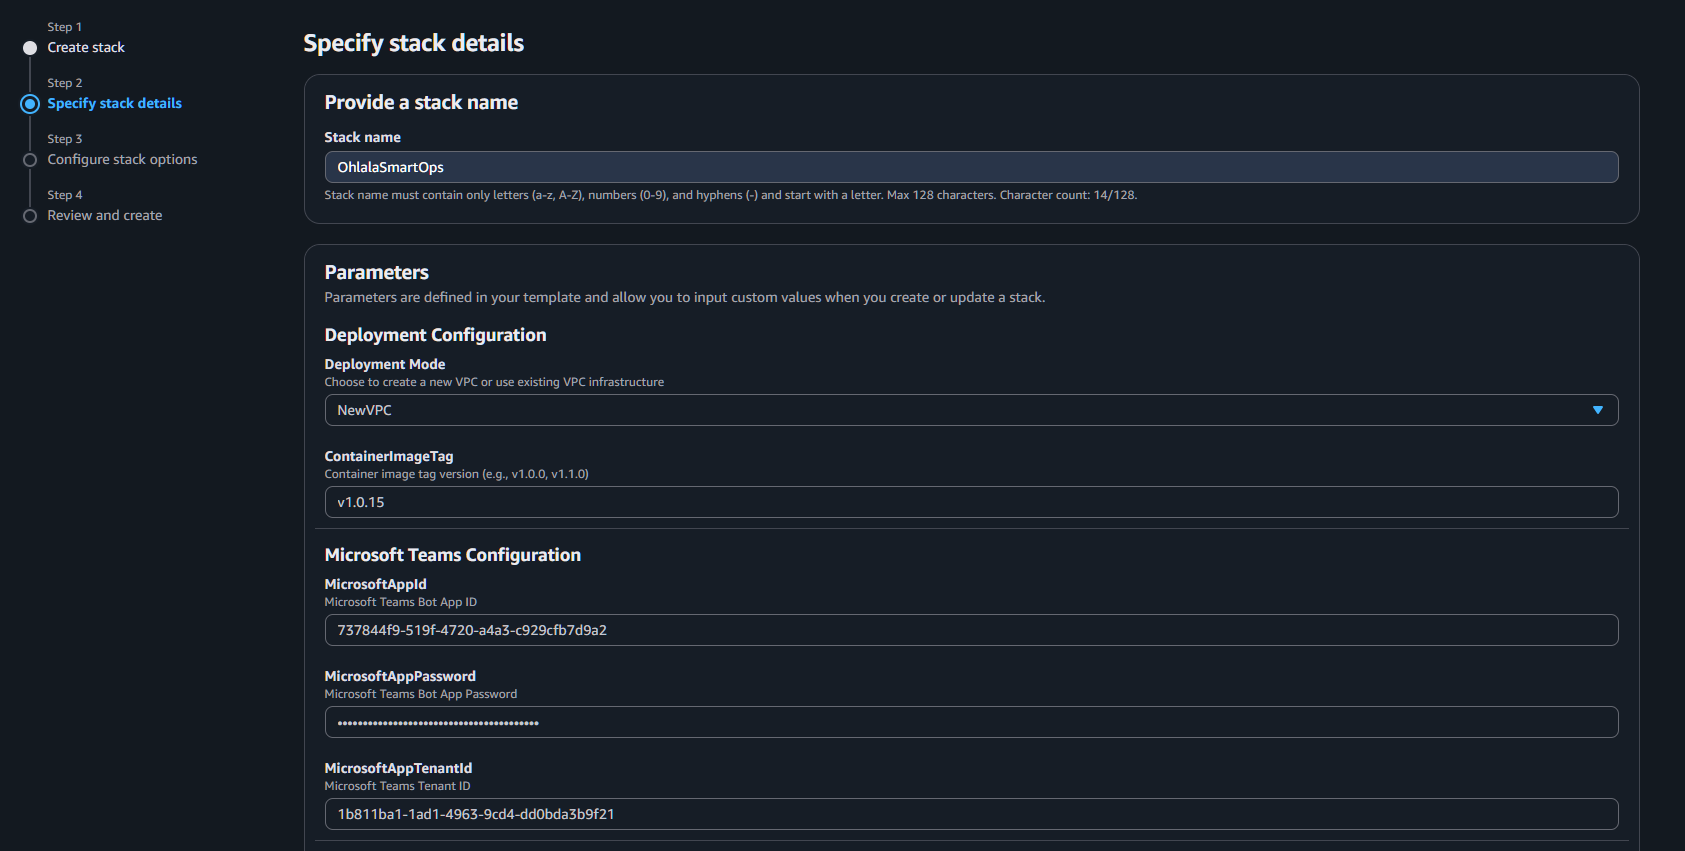
4. Configure Stack Parameters
Stack Name
Enter a unique stack name: OhlalaSmartOps (or your preference)
Required Parameters
Fill in the mandatory parameters:
| Parameter | Description | Example/Value |
|---|---|---|
| DeploymentMode | VPC configuration | NewVPC (recommended) |
| ContainerImageTag | Version to deploy | v1.1.0 (default) |
| MicrosoftAppId | From Azure Bot setup | Your App ID |
| MicrosoftAppPassword | From Azure Bot setup | Your App Password |
| MicrosoftAppTenantId | From Azure Bot setup | Your Tenant ID |
VPC Configuration (if NewVPC)
Keep defaults or customize:
- VPCCIDR:
10.0.0.0/16 - PublicSubnet1CIDR:
10.0.1.0/24 - PublicSubnet2CIDR:
10.0.2.0/24 - PrivateSubnet1CIDR:
10.0.10.0/24 - PrivateSubnet2CIDR:
10.0.11.0/24 - EnableNATGateway:
true
Click “Next”
5. Configure Stack Options
On the stack options page:
- Tags: (Optional) Add tags for resource organization
- Permissions: Leave default
- Advanced options: Leave default
Click “Next”
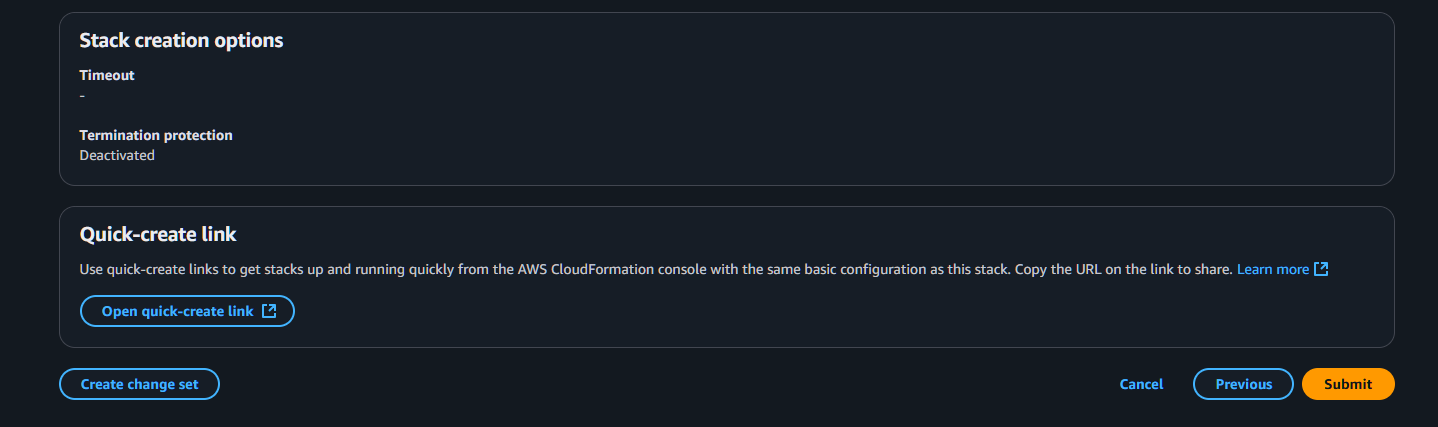
6. Review and Create
- Review all settings
- Check the acknowledgment box:
- ✅ I acknowledge that AWS CloudFormation might create IAM resources with custom names
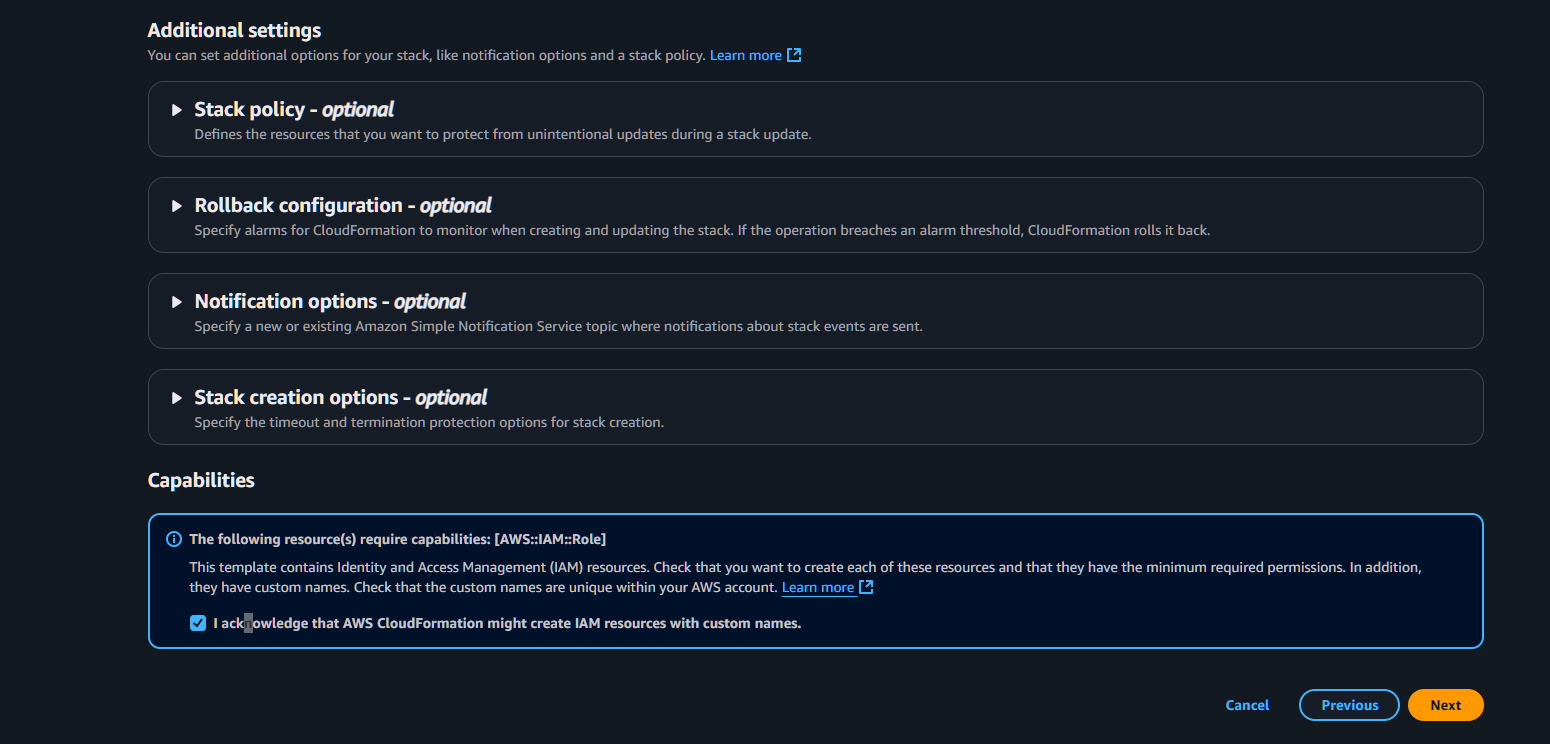
- Click “Submit”
7. Monitor Deployment
The stack creation takes 5-10 minutes. Monitor progress:
- Select your stack in the CloudFormation console
- Check the Events tab for real-time updates
- Wait for status: CREATE_COMPLETE
Success Indicators:
- Stack status shows
CREATE_COMPLETE - All resources in the Resources tab show
CREATE_COMPLETE - No errors in the Events tab
📊 Get Stack Outputs
Once deployment completes, get the important URLs:
- Select your stack
- Go to the Outputs tab
- Save these values:
| Output | Description | Use |
|---|---|---|
| TeamsWebhookURL | API Gateway endpoint | Configure in Azure Bot |
| APIGatewayEndpoint | Base API URL | Reference only |
| ECSCluster | Cluster name | For monitoring |
| ECSService | Service name | For monitoring |
🔍 Verify Deployment
Check ECS Service
- Go to ECS Console → Clusters
- Find your cluster (e.g.,
OhlalaSmartOps-Cluster-...) - Check service shows 1 running task
Check API Gateway
- Go to API Gateway Console
- Find your API (e.g.,
OhlalaSmartOps-API-...) - Verify endpoints are created
Check Health Endpoint
Test the health endpoint (no authentication required):
curl https://your-api-id.execute-api.region.amazonaws.com/prod-stackname/health
Should return: {"status": "healthy"}
❓ Troubleshooting
Stack Creation Failed
IAM Role Already Exists
Error: “Resource of type ‘AWS::IAM::Role’ with identifier already exists” Solution: Use a different stack name, or delete the existing role first
Insufficient Permissions
Error: “User is not authorized to perform: iam:CreateRole” Solution: Ensure you have admin permissions or required IAM policies
Service Quota Exceeded
Error: “Service quota exceeded” Solution: Request quota increase or deploy in different region
Stack Stuck in CREATE_IN_PROGRESS
- Check Events tab for specific resource causing delay
- ECS service can take 3-5 minutes to stabilize
- If stuck >15 minutes, consider deleting and retrying
⏭️ Next Step
With infrastructure deployed and webhook URL ready: